
Tags
backer board, bathroom, copper, corner seat, Drain, dura-rock, glass block, grout, insulate, morter, Plumbing, remodel, shower, thinset, Tile, toilet, Tub, Vanity, walk-in, window
Below is the bathroom before

After 1 day below: I demo’d the bathroom by pulling the sink and fixtures, then removed wall tile/window trim. Removed floor tile except around toilet for now. Same with 1/2″ plywood underlayment. Then i pulled the cast iron tub. Cleaned up. Removed drywall on outside wall to insulate. Built curb for walk in shower.

Next, we will redo the plumbing by moving the shower valve to the left wall, raising the shower head 6″ and install a new shower drain and a durarock floor to provide a strong morter base. I Built a 18×16 rough opening for a built-in shelf above the shower valve, centered to the shower base.
I orders the glass block and materials needed to go in place of the window.
Below, due to per customer request to have faucet fixture placed at the opposite end of the shower, we had more copper to run than typical. This older home was done in copper so we didnt bother with pex.


With the plumbing done i replaced the original backerboard, layed a base of morter that the rubber membrane will lay on and started on the corner seat.
I have to wait for the morter to dry before installing the membrane, then i will lay the top coat of morter on top of the membrane.
Once thats done i can finish the corner seat which will need legs down to the morter at both ends of the seat and one across the bottom. This will give me something to screw the backer board to.
Below you can see the rubber membrane i wrapped around the curb and screwed on the dura rock, then folded the corners and nailed them high up on each wall stud.

Below, i poured the top morter coat, installed the dura rock on the bottom of the walls and finished the seat too.

I then covered all joints, screws with drywall mesh tape and thinset, just like you would do on drywall.
After it all dries, i will lightly scrape everything to knock down any bumps, clean up eveything loose before it all gets coated with a rubberized paint.
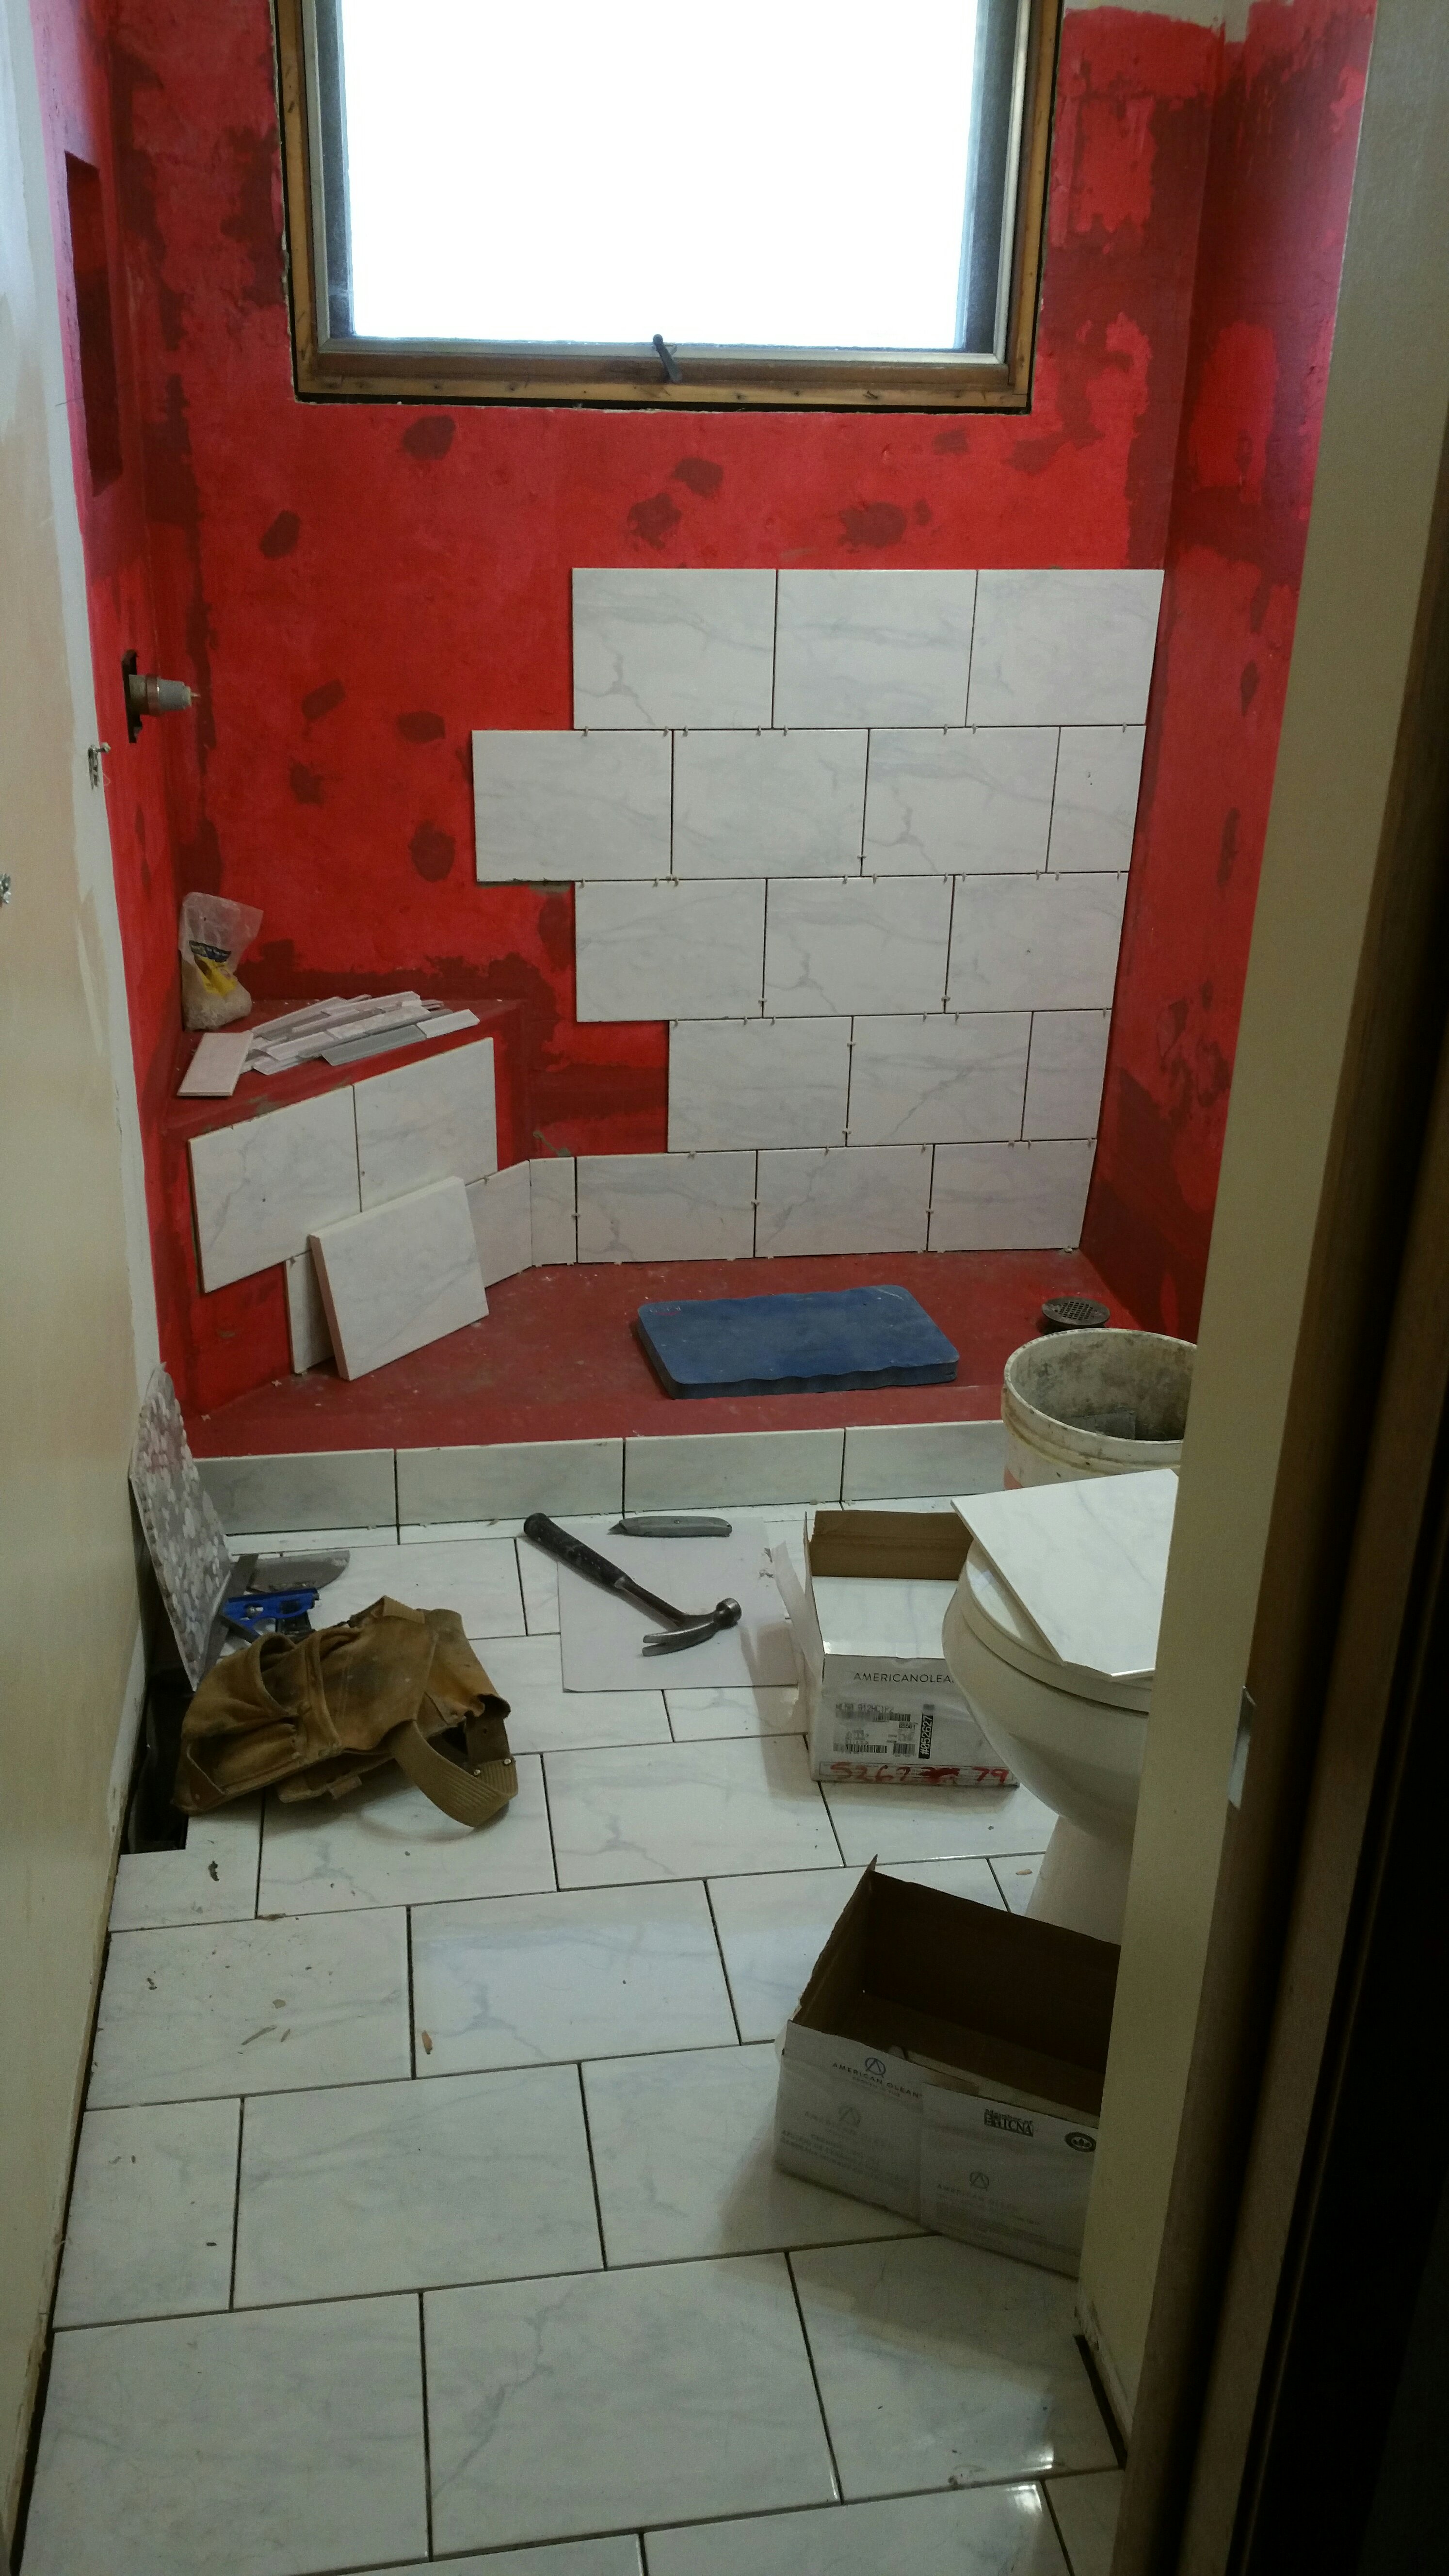
Below, i began applying the rubber paint. Its a gel paint or weather proofing found in the tile department meant for showers. It goes on pink and dries a red color. I brush the corners and roll the large areas.
I also, began tiling the floor. This tile will also flow into the shower walls. I will finish the floor before doing the shower.


Next, I will take the window out and install glass block in its place. Everything i order finally came in and this next week will be mild enough to get it done.

Installed glass block in a couple hours, was pretty easy. I cut the plastic spacers and set the first row on a flat surface, measured the width and made my opening close to that. I did the same with the height before installing them in the opening. I set a spacer on the bottom and layed a silicone bead, placed a block, then siliconed a spacer before setting the next block. Each layer has a clip on one end that screws into the framing. Continue until all block are in place. Then i siliconed all joints, smoothing them carefully with my finger wiping off any excess. Do that on both sides. I set the block flush to the inside wall. I will trim the outside later.
Then i finished the inside tile around the window. With the tile all in place i grouted all the joints. This takes some time to do with rhis special grout. The grout dries quickly and you have to keep going back wiping off the haze before it is too dry to come off. This grout is flexable, crack resistant, mold and mildew resistant and doesnt need a sealer. Its expensive but worth it.

Next i will grout the floor and sand/paint the walls, not in that order.

Walls painted and floor grouted! Next is to set the vanity and install the ceiling light/fan/heat lamp. Install threshold, trim outside of glass block and its all done!
